
Applying vinyl stickers can instantly upgrade your vehicle, boat, or signage—but nothing ruins the look faster than air bubbles and wrinkles.
The good news? With the right technique, you can apply vinyl decals smoothly and professionally—even as a DIY install.
In this guide, we’ll show you how to apply vinyl stickers without bubbles, step by step.
🎯 Why Bubbles Happen
Before fixing the issue, it helps to understand why it happens:
- ❌ Dirty or dusty surface
- ❌ Applying too quickly
- ❌ Uneven pressure
- ❌ Incorrect temperature
- ❌ Poor-quality vinyl
👉 Most problems come down to preparation and technique.
🧼 Step 1: Clean the Surface Properly (Most Important Step)
A clean surface is critical for bubble-free application.
✅ What to do:
- Wash with soap and water
- Wipe with isopropyl alcohol (IPA)
- Remove dust, grease, wax, and dirt
👉 Even small particles can cause bubbles.
🌡️ Step 2: Choose the Right Conditions
Temperature matters more than most people realise.
✅ Best conditions:
- Mild temperature (15–25°C)
- Dry weather
- No direct sunlight
👉 Too hot = adhesive grabs too fast
👉 Too cold = poor adhesion
📏 Step 3: Position the Sticker First
Before peeling:
- Hold the sticker in place
- Use masking tape to align
- Check placement from different angles
👉 This avoids repositioning during application.
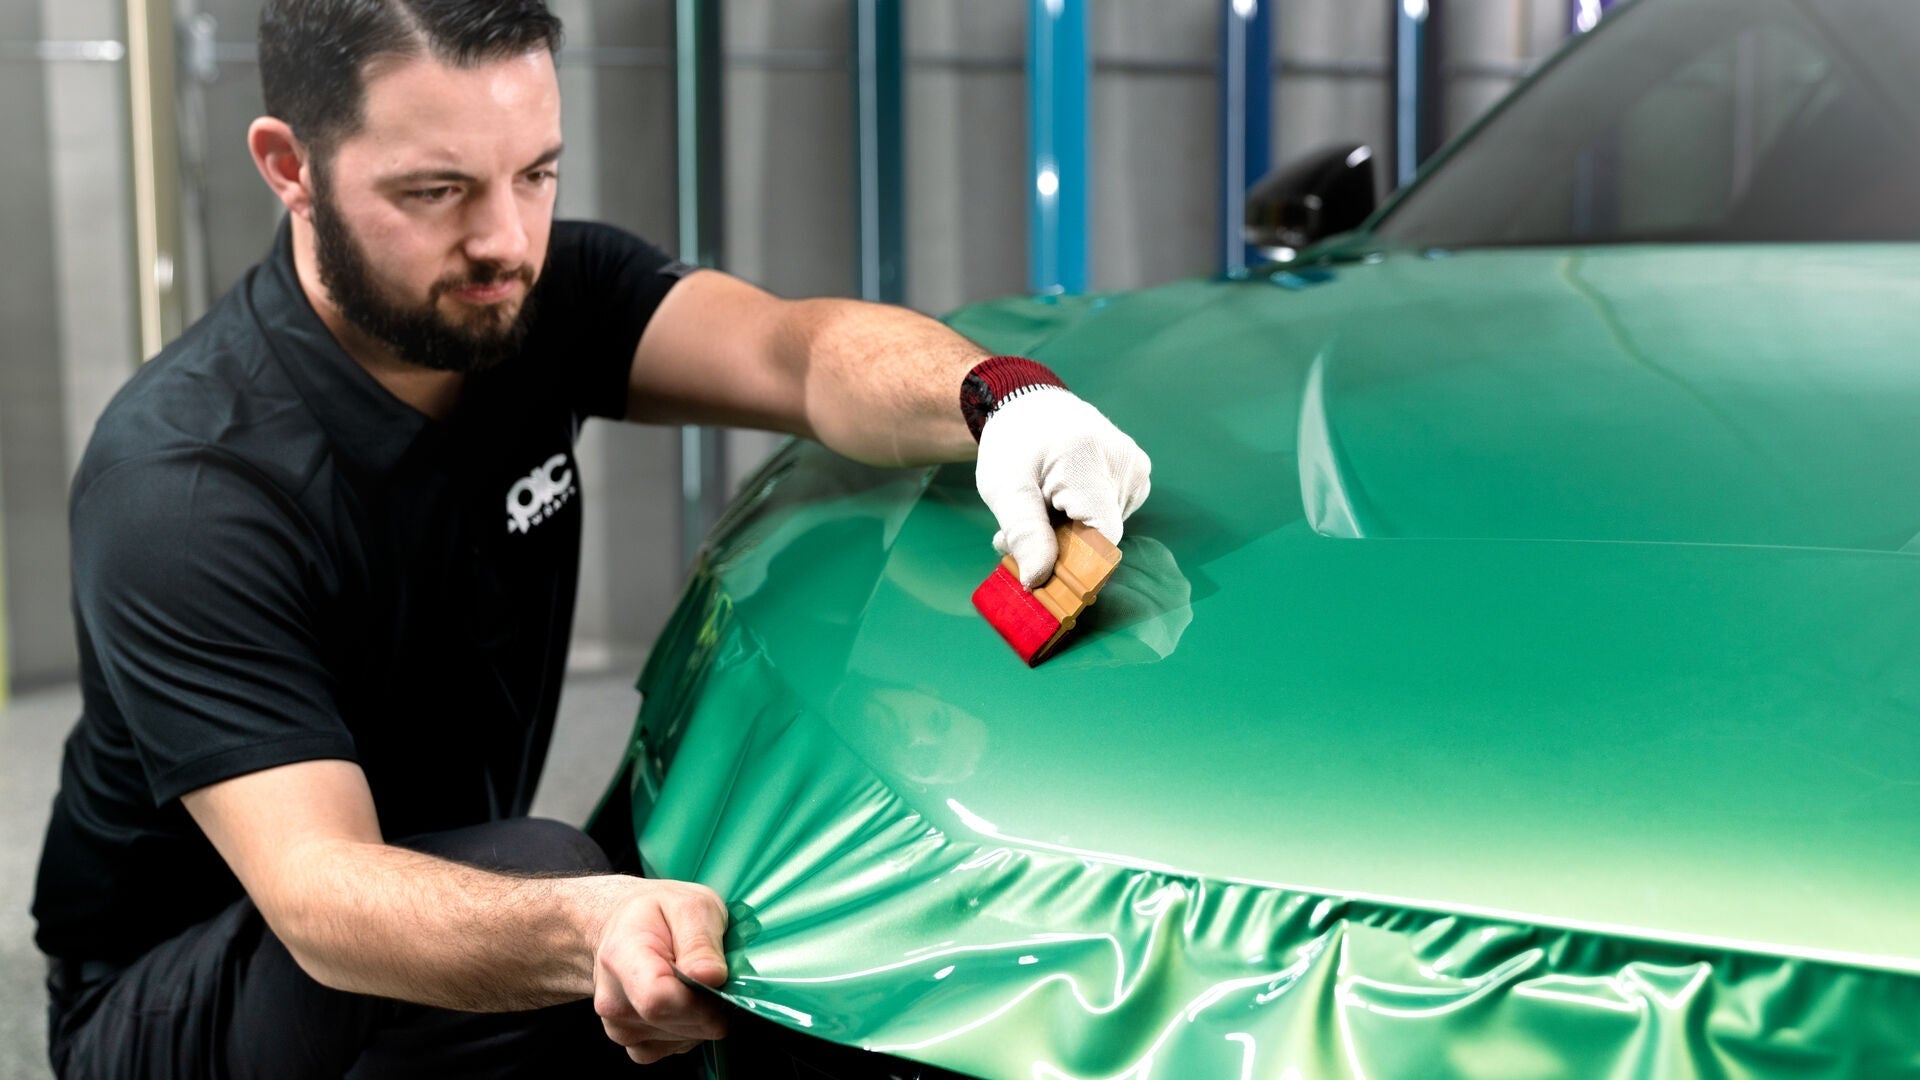
🔧 Step 4: Apply Using the “Peel & Squeegee” Method
This is the best method for avoiding bubbles.
✅ How to do it:
- Peel a small section of backing
- Stick down one edge first
- Use a squeegee (or card wrapped in cloth)
- Press outward in smooth strokes
- Slowly peel backing while applying
👉 Always work from the centre outward to push air out.
💡 Step 5: Apply Even Pressure
- Use firm, consistent pressure
- Work slowly—don’t rush
- Smooth in overlapping strokes
👉 This ensures proper adhesion and removes trapped air.
🔥 Step 6: Use Heat (Optional but Helpful)
For tricky surfaces:
- Use a hairdryer or heat gun on low
- Warm the vinyl slightly
- Helps it conform to curves and edges
👉 Don’t overheat—it can damage the sticker.
⚠️ Step 7: Fix Any Small Bubbles
Even with care, small bubbles can happen.
✅ Quick fixes:
- Use a pin to gently release air
- Press flat with squeegee
- Apply slight heat if needed
👉 Most tiny bubbles disappear over time.
🚫 Common Mistakes to Avoid
- ❌ Applying too fast
- ❌ Skipping cleaning
- ❌ Applying in extreme heat/cold
- ❌ Not using a squeegee
- ❌ Trapping air by pressing unevenly
🚗 Applying Vinyl Stickers to Different Surfaces
Cars & Vehicles
- Avoid applying over wax
- Work in shade
- Use proper cleaning prep
Boats
- Use marine-grade vinyl
- Clean salt residue first
- Be careful with curved surfaces
Glass & Windows
- Easiest surface
- Can use light mist method (optional) - use only if not air egress vinyls, which will have a glue cross hatch pattern on the back
- Smooth application easily
💡 Pro Tips for Perfect Results
- Use a felt-edge squeegee for best finish
- Work slowly—precision matters
- Always prep properly
- Use high-quality vinyl for better results
✅ Final Thoughts
To apply vinyl stickers without bubbles:
👉 Clean surface + slow application + proper technique
Follow these steps and you’ll get a professional, smooth finish every time.
🔗 Get High-Quality Vinyl Stickers
At Form A Sign, we produce premium vinyl stickers designed for:
- Easy application
- Strong adhesion
- Long-lasting performance
👉 need more help? Ask the experts
Share:
Why Your Stickers Are Peeling (and How to Fix It)
Business Signage trends 2026